Raspberry Pi quickstart
Flash an SD card, find the Pi on your network, SSH in, set up keys, pick an editor. Fifteen minutes if nothing is weird.
Published
If you already work with Raspberry Pis, this isn’t for you — there’s nothing here you don’t know. This is the page I’d send my neighbor when they ask “OK, where do I actually start?” It’s a quick tour of how I get a fresh Pi up and running, with links out to the official docs whenever you want more depth.
I’m doing this from a MacBook for most projects, and from an Ubuntu desktop for some. The OS picker at the top of this page flips the commands across the whole guide — pick yours and the right snippets will show. Windows works for most of this too, but I haven’t personally tested it, so I’ll point at official docs where it matters.
The basic loop: flash an SD card, plug the Pi in, find it on the network, SSH in. Five steps, fifteen minutes if nothing’s weird.
What you’ll need
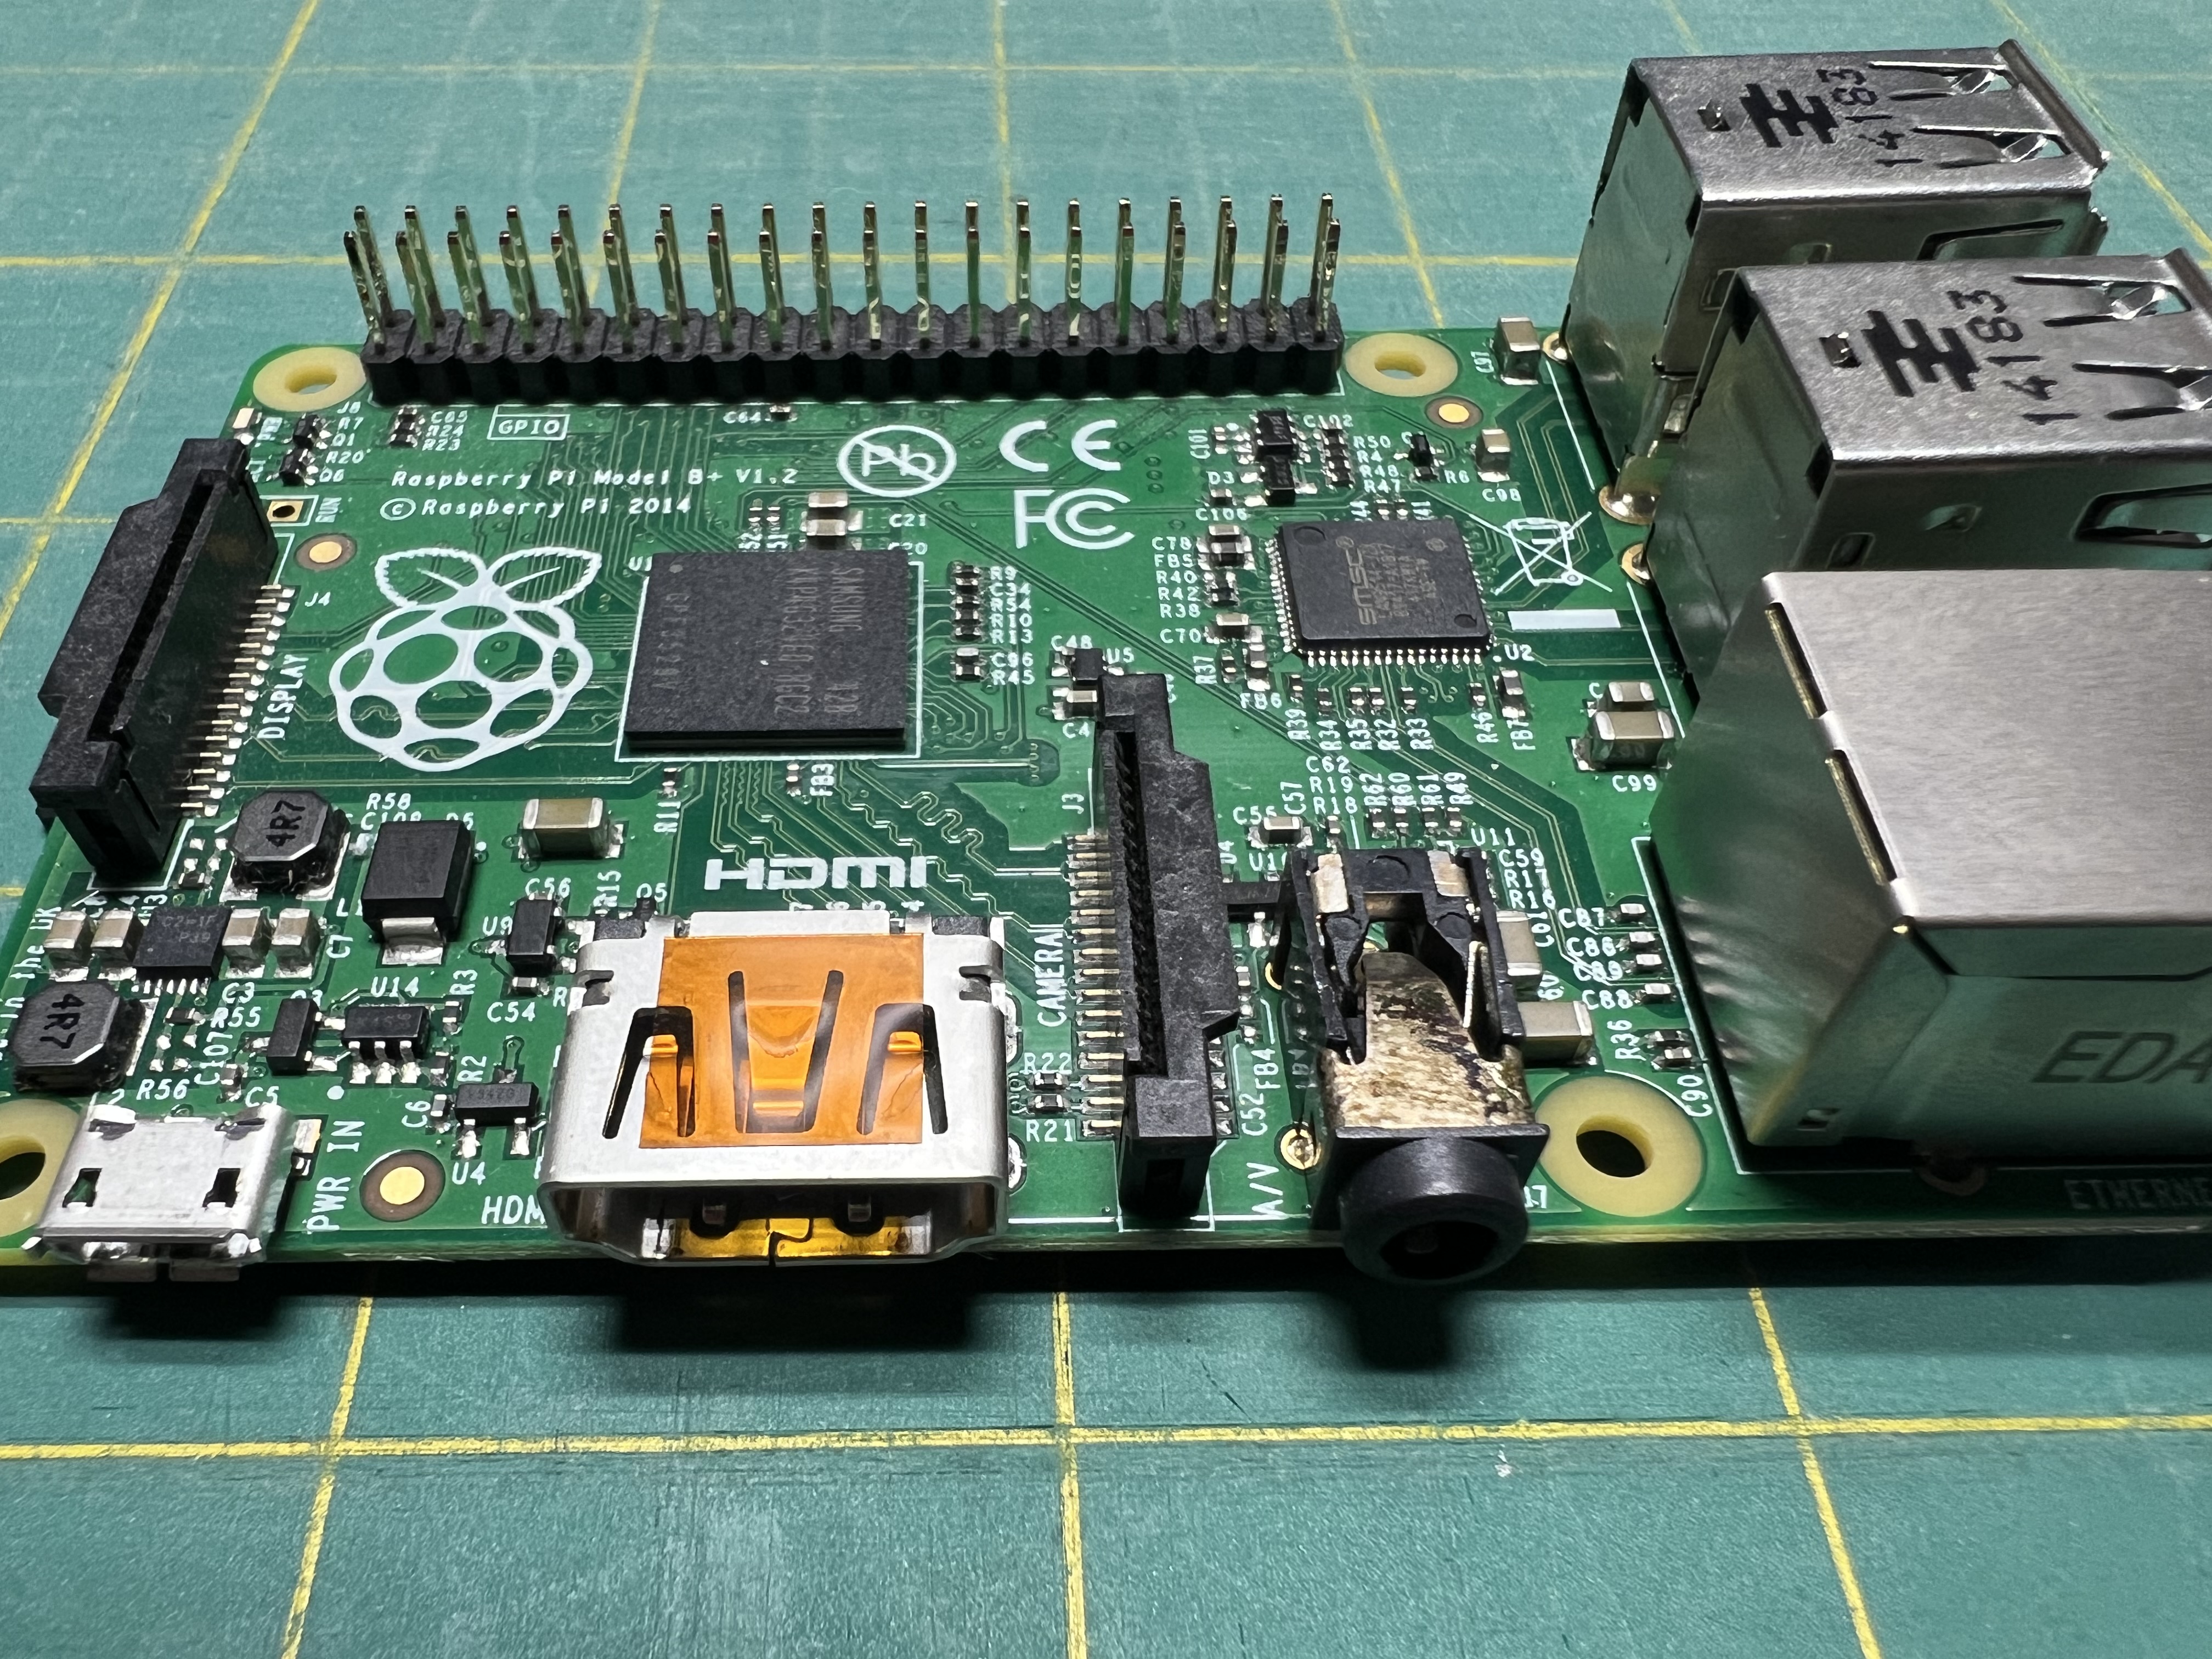
- A Raspberry Pi — any model. A Pi Zero W is fine for small projects; a Pi 4 or 5 is great if you want a desktop you can actually use.
- A microSD card, 16GB or larger. Class 10 / U1 or better. Cheap cards are a false economy — they fail.
- A power supply that matches your Pi’s requirements. The official guide is here.
- A computer with an SD card reader (or a USB adapter).
- Your WiFi name and password, and your country code.
1. Flash the SD card
I use Raspberry Pi Imager for every fresh Pi. It’s free, it’s the official tool, and the Advanced Settings make headless setup almost trivial.
Download Imager and open it:
Install with Homebrew (brew install --cask raspberry-pi-imager) or grab the .dmg from raspberrypi.com/software.
On Ubuntu, install via snap: sudo snap install rpi-imager. Or grab the .deb / AppImage from raspberrypi.com/software.
Download the installer from raspberrypi.com/software and run it.
Plug your SD card in. In Imager:
- Choose Device — pick your Pi model.
- Choose OS — for headless use (no monitor) I pick Raspberry Pi OS Lite (64-bit). For a desktop, the full Raspberry Pi OS. Specialty distributions like RetroPie show up under “Other” / “Emulation and game OS”.
- Choose Storage — your SD card. Double-check this. Imager will erase whatever you point it at.
- Click Next, then Edit Settings when it asks if you want to apply OS customisation. This screen is the whole game.
In Edit Settings:
- Set hostname — give the Pi a name. I use two patterns depending on what the Pi is for. If it’s going to live as a single dedicated project, I name it after the project:
theremin,lantern,arcade. If it’s a general-purpose tinkering Pi I’ll use again later, I name it by hardware:elkpi0-1for “Pi Zero, unit 1”,elkpi02-2for “Pi Zero 2 W, unit 2”, and so on. Either way, you’ll connect to it as<name>.local. - Enable SSH — pick “password authentication” for now (we’ll set up keys in a minute) or “public-key only” if you already have an SSH key handy.
- Set username and password — pick something memorable. I usually use
pi. - Configure wireless LAN — your WiFi SSID, password, and country code (
USfor me). - Set locale settings — timezone and keyboard layout.
Save, write, eject. Done.
Why this matters: baking SSH and WiFi into the image is what makes “headless” work. The Pi boots, joins your network on its own, and is ready to talk to. No monitor, keyboard, or mouse required.
Trixie heads-up. If you’re flashing the latest Raspberry Pi OS (Trixie / Debian 13), use only Imager’s built-in fields for SSH and WiFi. Trixie switched to cloud-init for first-boot configuration, and customizations made outside of Imager — like mounting the boot partition and dropping in a
wpa_supplicant.conf— get silently dropped. If your fresh Pi never joins WiFi or SSH never comes up, this is almost always why. Re-flash via Imager with the Advanced Settings filled in.
The official walkthrough with screenshots is at raspberrypi.com/documentation/computers/getting-started.html#installing-the-operating-system.
2. First boot
Pop the SD card into the Pi, plug in power, and wait. First boot can take 60–90 seconds. Some images do a one-time auto-resize and reboot, so give it two or three minutes if it’s quiet.
If you have a green activity LED on your Pi, watch for it to blink and then settle. That’s a good sign.
3. Find it on your network
The hostname you set in Imager doubles as its mDNS name. Try pinging it:
ping my-pi.localIf it answers, you’re golden — skip ahead. If it doesn’t (ping: cannot resolve...), mDNS isn’t working on your network. Don’t panic — fallback options:
Scan your local subnet for live hosts. You’ll need nmap:
# install if needed
brew install nmap        # mac
sudo apt install nmap    # linux

# scan (adjust subnet to match your home network)
nmap -sn 192.168.1.0/24
Look for a host with “Raspberry Pi” in the manufacturer line.
Either install Nmap for Windows and run the same scan, or use your router’s admin page — most routers have a “connected devices” or “DHCP client list” view that shows hostnames.
Easiest of all: log into your router’s admin page (usually 192.168.1.1 or 192.168.0.1) and look at the connected devices list. Your Pi should be there with the hostname you gave it.
4. SSH in
Open a terminal and connect using whatever username you set:
ssh [email protected]The first time, you’ll get a “host fingerprint” warning. Type yes. Enter the password you set in Imager. You’re in.
You’re now sitting in a Linux terminal on the Pi. Anything you’d do at a normal Linux terminal — ls, cd, nano, apt, python3 — works here.
Windows 10 (build 1809+) and Windows 11 ship OpenSSH client by default. The ssh command works from PowerShell or Command Prompt the same way. If ssh isn’t recognized, see Microsoft’s OpenSSH install guide.
5. Set up SSH keys (recommended)
Typing your password every time gets old fast, and it’s the right move for security. SSH keys are the answer.
If you don’t already have an SSH key on your computer, make a dedicated one for Pi access:
# generate a key dedicated to your Pis
ssh-keygen -t ed25519 -f ~/.ssh/pi_key -C "raspberry pi"
Hit enter through the prompts (set a passphrase if you want extra security). Then copy the public half to the Pi:
ssh-copy-id -i ~/.ssh/pi_key.pub [email protected]Add a shortcut to ~/.ssh/config so you don’t have to type the long form every time:
Host my-pi
    HostName my-pi.local
    User pi
    IdentityFile ~/.ssh/pi_key
Now ssh my-pi is all you need.
PowerShell:
# generate the key
ssh-keygen -t ed25519 -f $env:USERPROFILE\.ssh\pi_key -C "raspberry pi"

# copy it to the Pi (no ssh-copy-id on Windows, do it manually)
type $env:USERPROFILE\.ssh\pi_key.pub | ssh pi@my-pi.local "mkdir -p ~/.ssh && cat >> ~/.ssh/authorized_keys && chmod 600 ~/.ssh/authorized_keys"
Add a shortcut entry to %USERPROFILE%\.ssh\config:
Host my-pi
    HostName my-pi.local
    User pi
    IdentityFile ~/.ssh/pi_key
Why I use a dedicated
pi_keyinstead of my main key: I rotate it independently of my “real” SSH key, and it’s clear at a glance which key goes where. You don’t have to do this — your default key is fine — but I find the separation useful.
Pick an editor
You’ll be editing files on the Pi. Three options I actually use:
nano— built in, dead simple.nano file.txtto open,Ctrl-Oto save,Ctrl-Xto quit. If you’re new, start here.vim— built in, more powerful, steep learning curve. If you already know it, you know.- VS Code Remote SSH — my daily driver. Install the Remote – SSH extension in VS Code, point it at your Pi (it picks up entries from your
~/.ssh/configautomatically), and you can edit files on the Pi as if they’re local. Indispensable for anything beyond a quick tweak.
Pair with an LLM (it actually helps)
When you hit an error message you don’t recognise, or a command does something weird, drop it into an LLM. I use Claude for hardware questions — paste the error in, paste the command in, ask why it didn’t work. It’s faster than Googling and the answers improve as you ask follow-ups.
Claude Code takes that further — it can run commands, edit files, and walk through projects with you in your terminal. I use it for almost everything in this lab. Treat it like a smart, fast collaborator that’s still wrong sometimes — verify what it tells you, especially anything hardware-specific.
You don’t need an LLM to do any of this. But if the wall is “I’m staring at an error and I have no idea what to do,” that wall is a lot lower with one.
What’s next
- Try a project: Mini CRT arcade, Nano theremin, Motion alarm
- Read the official Raspberry Pi getting started guide — it goes much deeper than this page
- Skim the Raspberry Pi OS docs for everything I’ve glossed over
Official references
- Raspberry Pi documentation — first stop for anything Pi
- Raspberry Pi Imager — the SD-card flashing tool
- Raspberry Pi forums — searchable, friendly community
Raw markdown for LLMs: /guides/raspberry-pi.md · full index